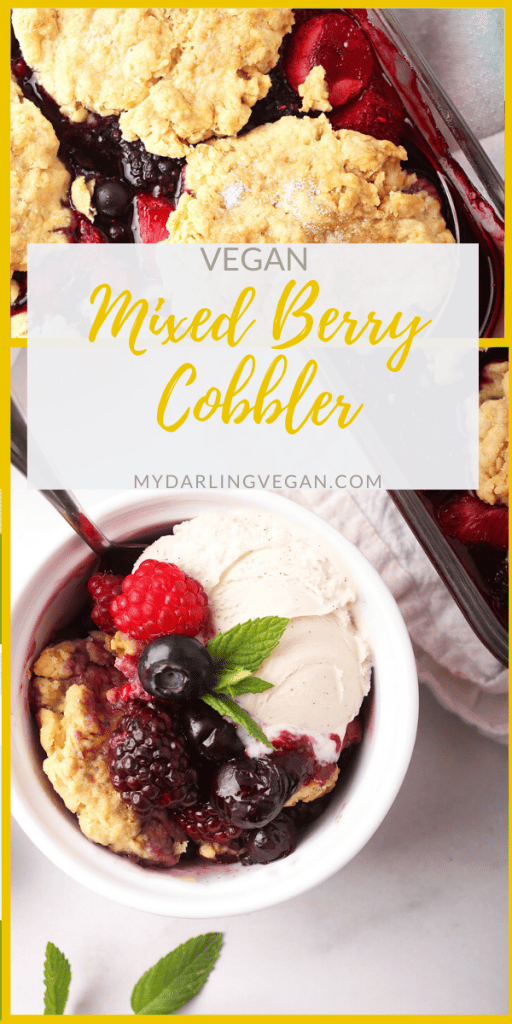
This mixed berry cobbler is an easy and delicious dessert to add to your backyard barbeques this summer. Serve it with non-dairy ice cream for a creamy and refreshing sweet treat. Sweet, tart, and bursting with buttery flavor.
This post is sponsored by Bob’s Red Mill. All thoughts and opinions are my own.
Is there anything more summery than a vegan berry cobbler?
Filled with a mixture of perfectly sweetened and deliciously tart berries and topped with a buttery biscuit, this mixed berry cobbler is your go-to summertime dessert for all your backyard barbeques and potlucks.
Simple to make, this easy vegan dessert is perfect for whenever you're wanting a classic sweet treat without the hassle. For even more convenience, make it in advance for a throw-in-the-oven dessert!
Recommended Ingredients
Great news! Berry cobblers are one of the easiest desserts to make. It's a matter of macerating the fruit, making a sweet biscuit topping, and baking to golden brown perfection. You do not need to be a master baker to master this recipe.
Ingredient Notes
- All-Purpose Flour - Bob’s Red Mill is my favorite brand of flour and the only one I recommend. Read all about why I love Bob's Red Mill below. Note: I have also made this cobbler with 1:1 Gluten-Free Flour Baking Blend with great success.
- Mixed Berries -When making any kind of fruit cobbler, I always recommend fresh fruit. However, when fresh berries are not possible, frozen berries can be substituted.
- Granulated Sugar - Check out my guide to vegan sugars and sugar alternatives.
- Vegan Butter - When working with few ingredients, it’s important to use high-quality, non-hydrogenated butter.
- Non-Dairy Milk - Thick and creamy is best. Soy, cashew, and oat are the kinds of milk I recommend.
My Go-To Baking Flour
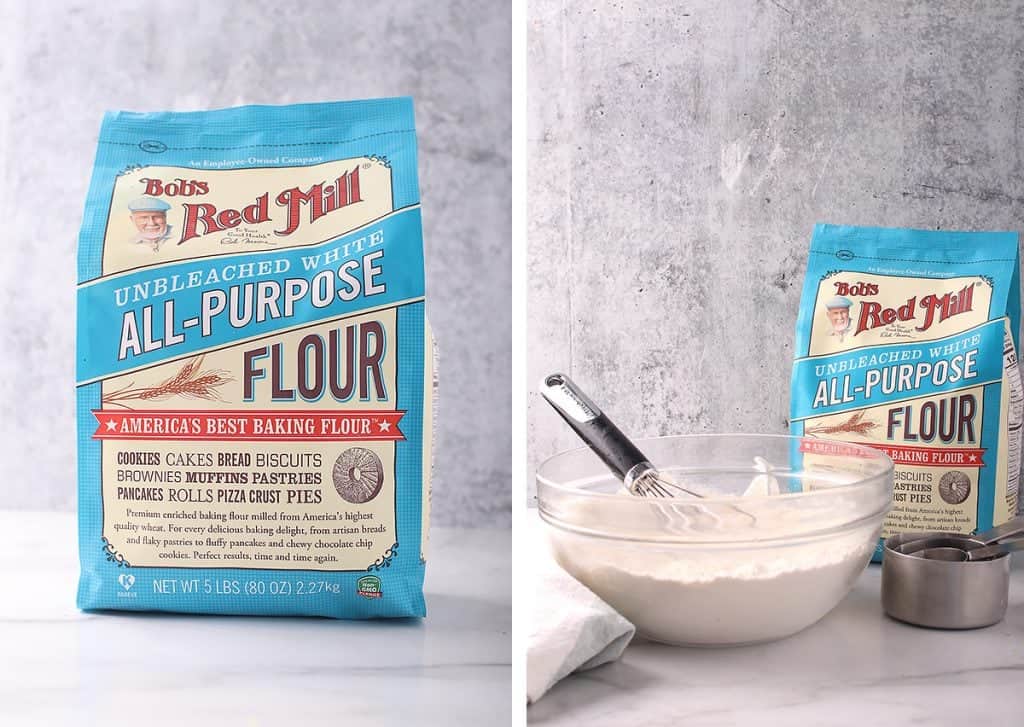
I use Bob’s Red Mill products in almost all of my baked goods. They offer the largest selection of vegan, paleo, and gluten free flours that fit well with everyone's dietary needs.
Bob’s Red Mill is an employee-owned company with the largest lines of organic, whole grain foods in the country.
For over three decades, the company has been committed to providing people everywhere with the best quality foods available. All of their products are certified Kosher and made with ingredients grown from non-GMO seeds. And their products are minimally processed which means the grains are about as close to nature as possible before hitting your table.
And you can taste the difference! Find Bob's Red Mill at your local grocery store and you'll see why I am such a huge fan!
Step-by-Step Instructions
This berry cobbler recipe can be made in three simple steps with just about 30 minutes of prep. Check out the step-by-step photos below.
Step One - Macerate the Berries
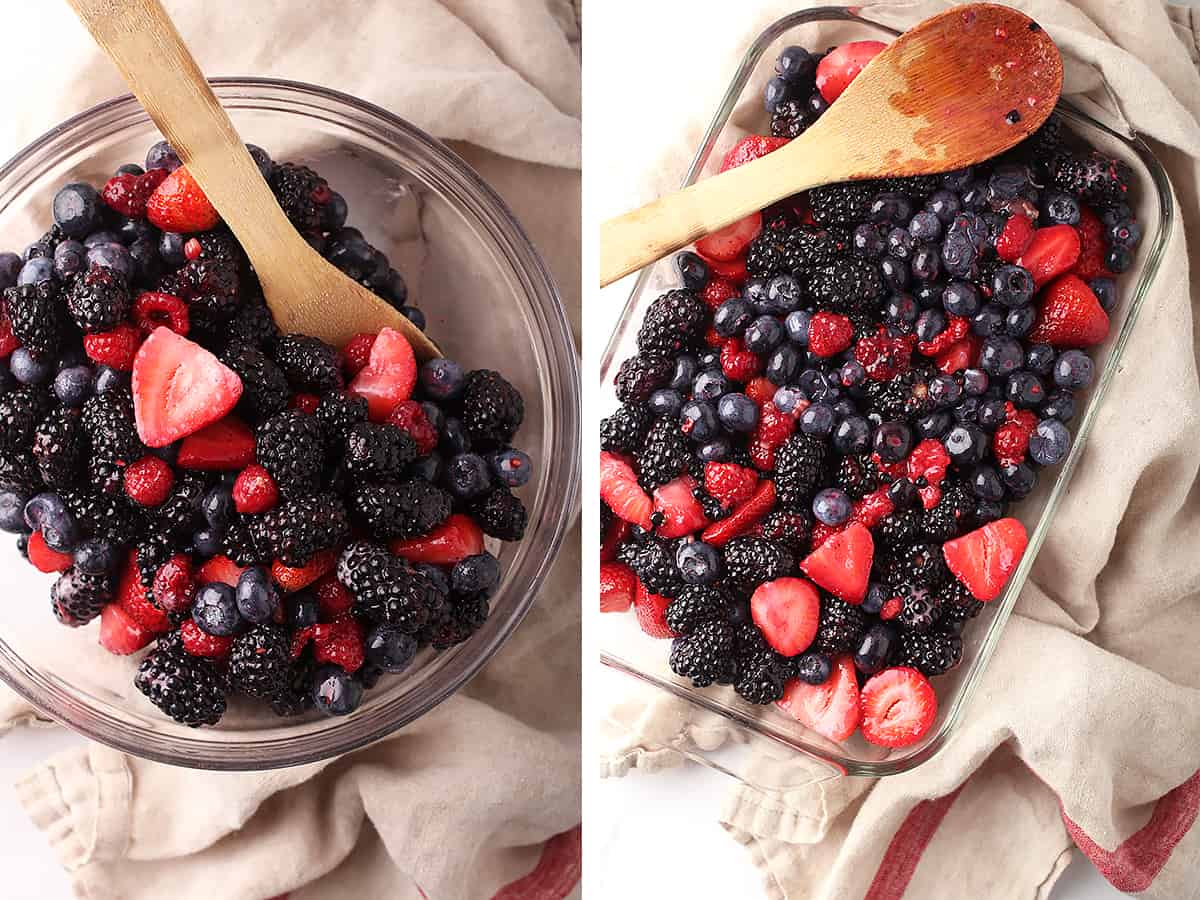
Macerating berries is a method that involves letting the berries sit in a fine coating of granulated sugar. The process of adding sugar enhances their natural sweetness and flavor as well as creates a thin berry syrup that, when cooked, becomes thick and compote-like. This method is used in most fruit pies, crisps, and cobblers.
To macerate the berries, simply sprinkle sugar and cornstarch over the top. Gently toss to coat and let the berries sit for at least 30 minutes (longer is fine) until the juices have been released into a light berry syrup.
Pour the berries into the casserole dish and set aside.
Step Two - Make the Drop Biscuit
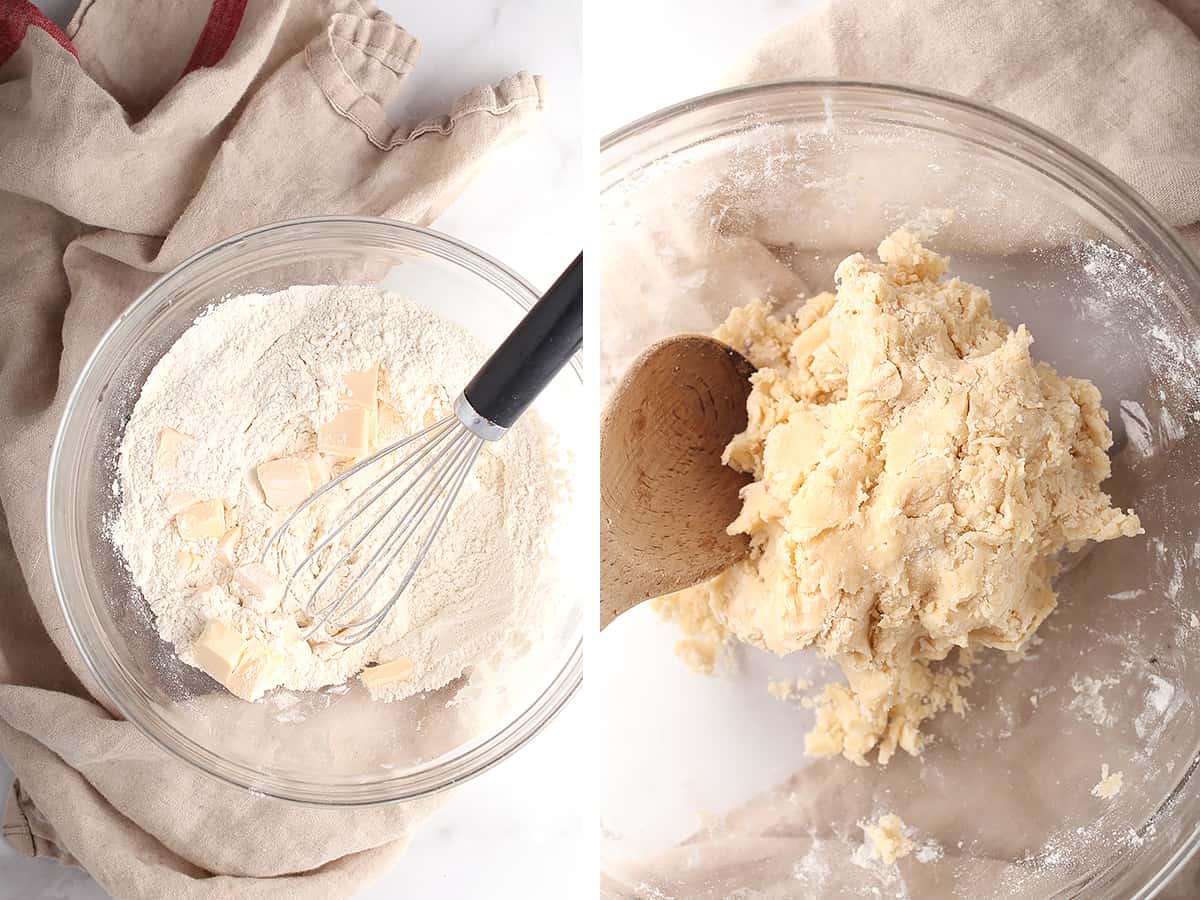
To make the drop biscuit, combine the all-purpose flour, sugar, baking powder, baking soda, and salt in a small bowl.
Add the butter in small cubes and mix it in with the dough using your fingers or a pastry cutter until small pea-sized pieces have formed. Add the non-dairy milk and stir together until a stiff dough has formed.
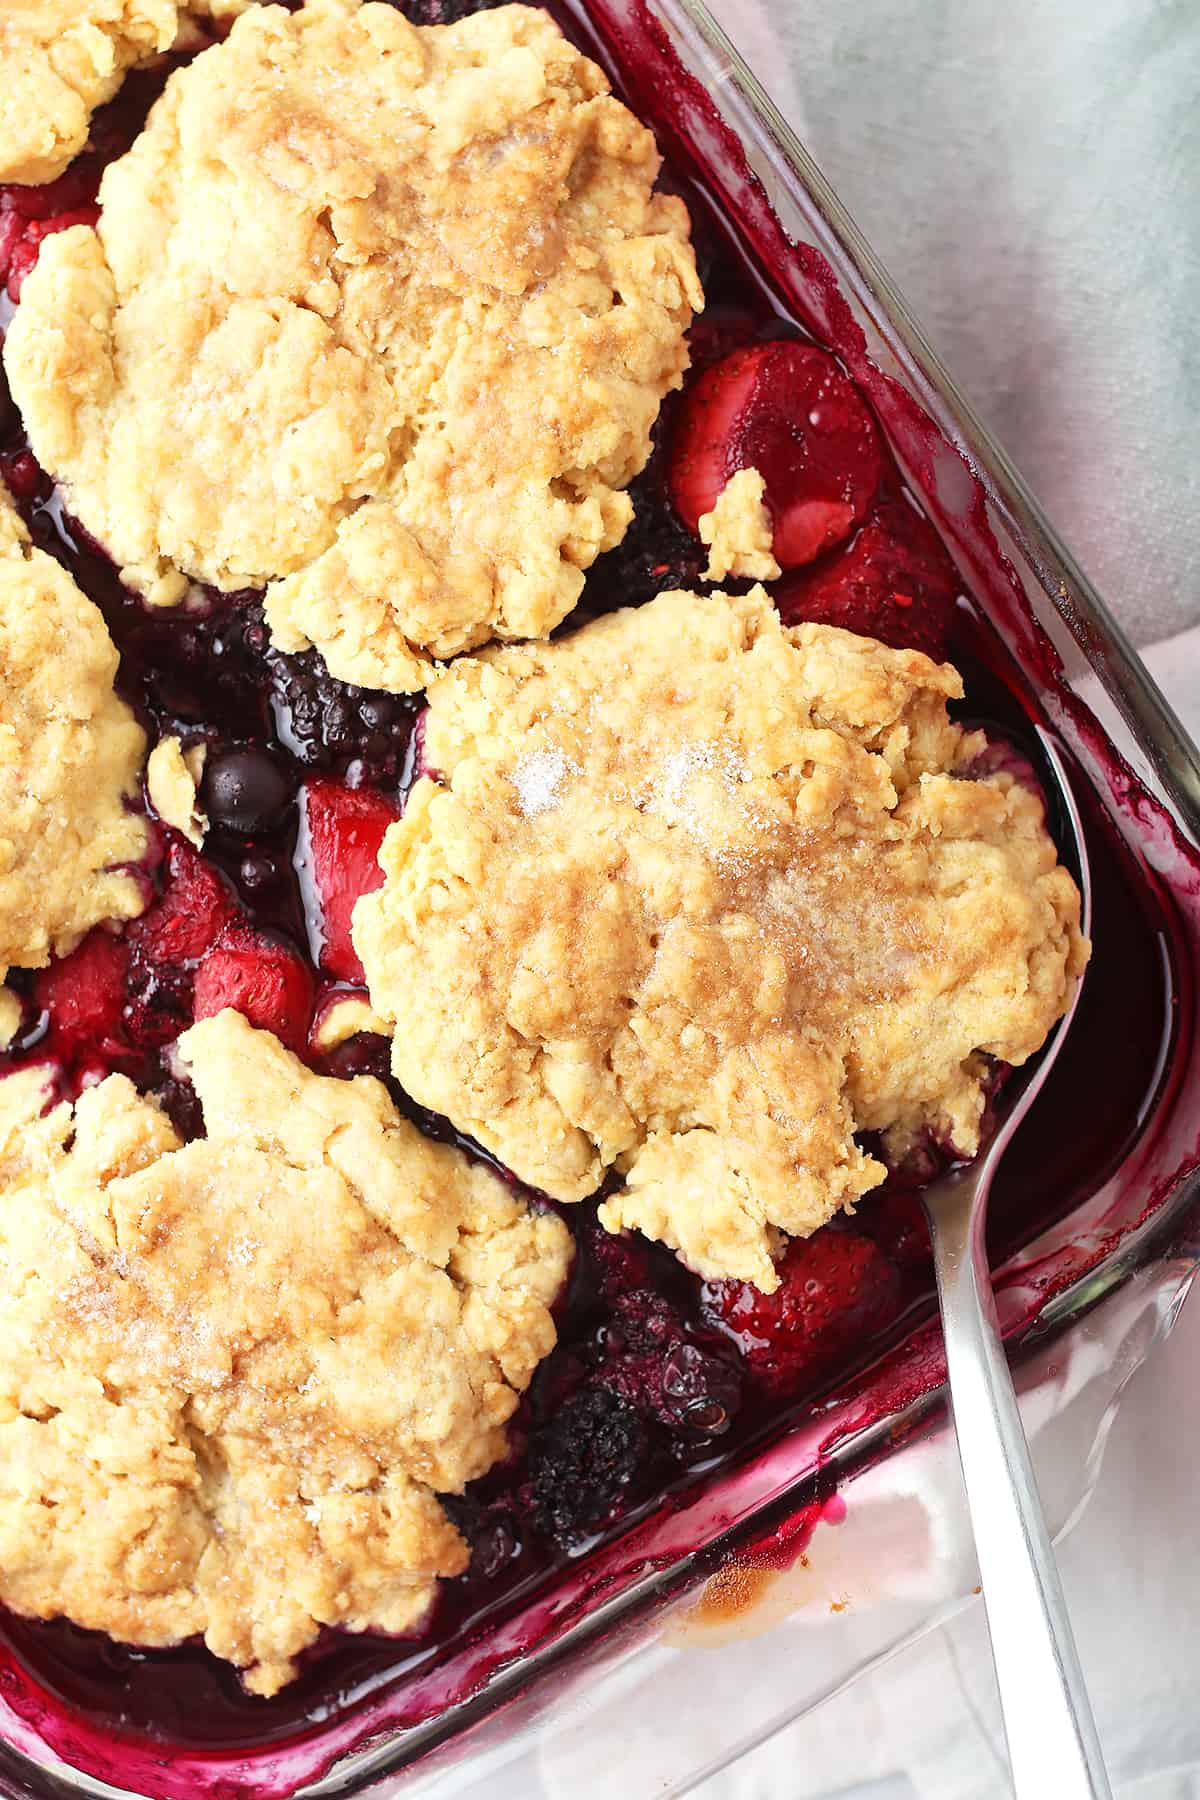
Step Three - Assemble and Bake

Drop pieces of dough over the mixed berries so that it is mostly covered with a large piece of dough. It should resemble a cobbled road.
Bake the mixed berry cobbler until the berries are bubbling up and the dough is golden brown.
Pro Tip: Make sure to cook your cobbler until the juices are bubbling over. Cornstarch is activated in heat and won’t thicken unless the internal temperature reaches a boiling point.
Serving and Storing
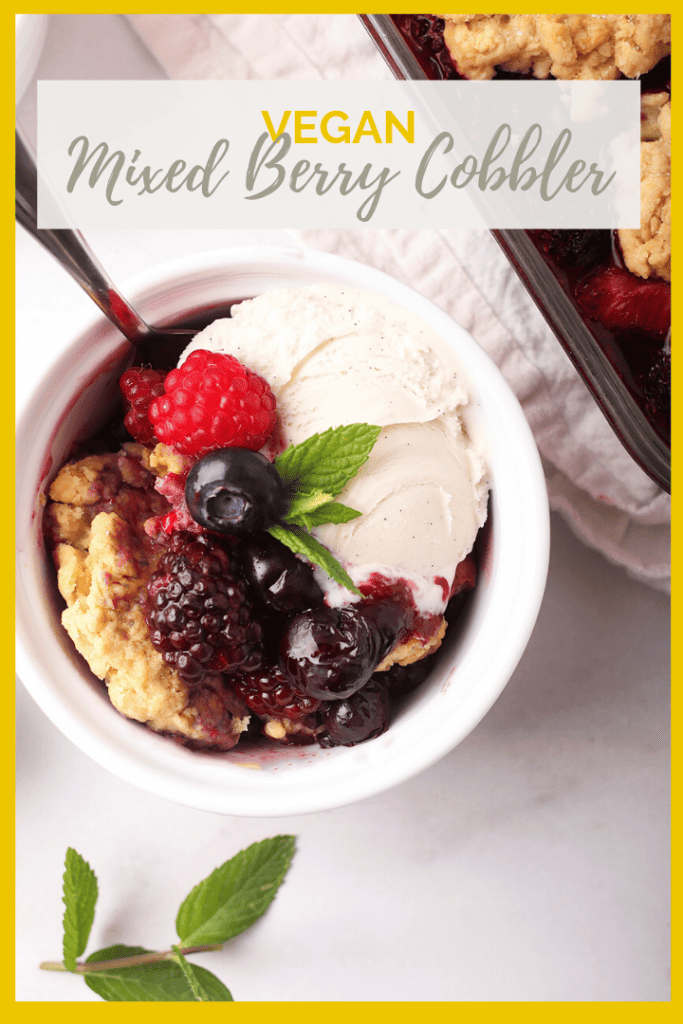
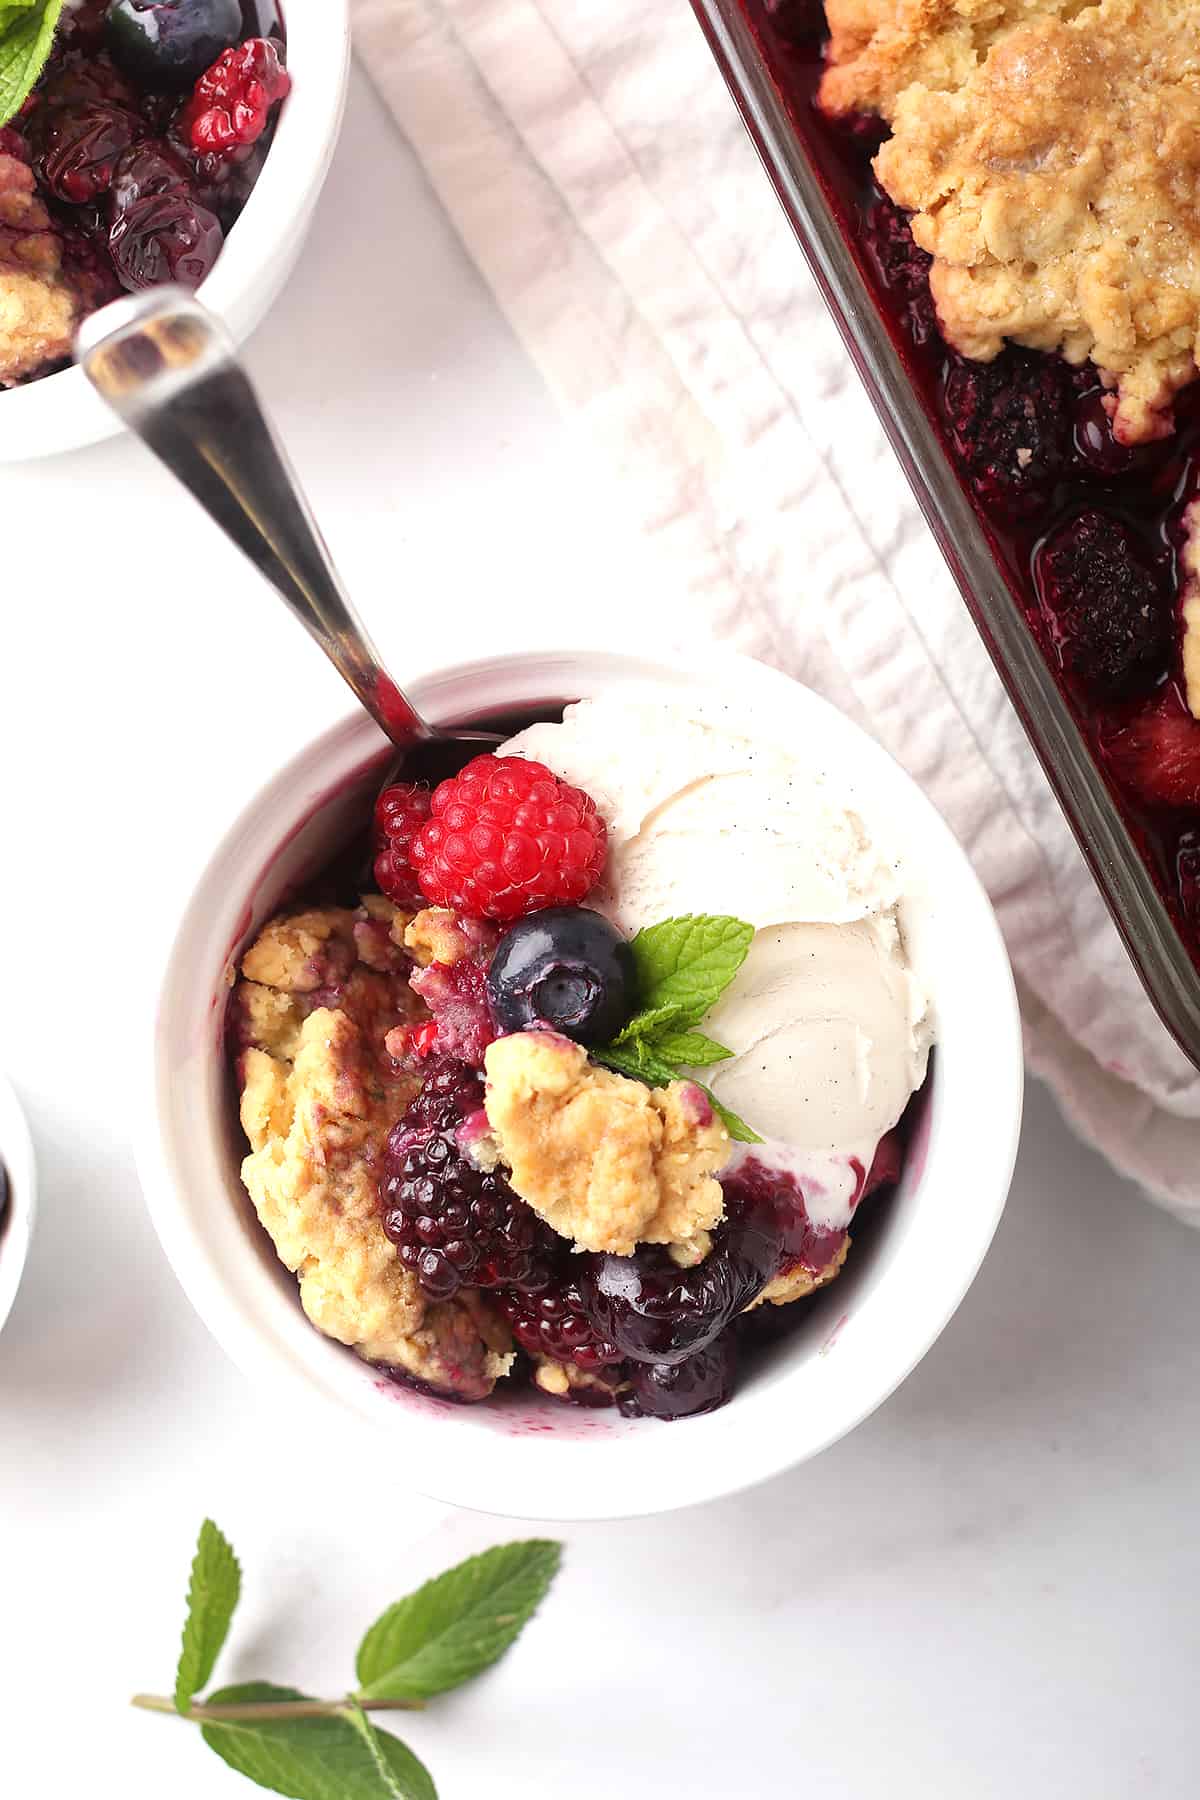
Serving - Once out of the oven, let the cobbler sit for at least 20 minutes. This gives the syrup time to cool and thicken into a nice berry compote. Serve the cobbler with coconut whipped cream or your favorite non-dairy ice cream.
Storing - Store leftover cobbler in an airtight container in the refrigerator for up to 3 days. Eat leftovers cold or gently reheated in the microwave.
Tips and Tricks
- Fresh berries are always best. However, if you have to use frozen berries, place them in a colander and run them under water to allow excess juices to run off. Pat the berries try before mixing them with the sugar and cornstarch.
- For the best biscuit topping, you will want to make sure your dough is fairly dry and crumbly. Add only enough liquid for the dough to come together. If it’s too wet, it will lose its buttery flakiness.
- For a gluten-free alternative, use Bob’s Red Mill 1:1 Gluten Free Baking Blend.
- For a paleo version, use Bob’s Paleo Baking Flour Mix. Replace the cornstarch with arrowroot or tapioca flour and swap in coconut sugar for the granulated sugar.
Frequently Asked Questions
Why, yes! It can. If you want to prepare this berry cobbler in advance but don’t want soggy biscuits, you can prepare the filling and biscuit separately.
Instead of layering the biscuit over the berries, add it to a parchment-lined baking sheet and bake until golden brown. Make the filling as well, according to the recipe instructions. Once out of the oven, let the biscuit cool completely before storing it. The fruit can be covered and stored in the refrigerator. The topping should be stored in an airtight container at room temperature.
When ready to serve, add the topping to the cooked berries and gently reheat at 350F until heated all the way through. This will help combine the layers and crisp up the topping before serving.
When making any kind of fruit cobbler, you can choose between fresh or frozen. I always prefer fresh fruit. Unlike frozen berries, they don’t contain extra liquid, meaning you get the most delectable filling. More importantly, they have THE BEST flavor and texture.
Since fresh berries aren’t always in season, frozen berries are a great alternative. To use frozen berries, place them in a colander and run them under room temperature water, breaking them up with your fingers. This will allow the excess juices and water to run out. Let the berries sit in the colander for at least 30 minutes so all the water has drained from them. If they are still wet, they will add liquid to your filling. Gently pat the berries dry with a paper towel before mixing them with sugar and cornstarch.
To ensure that the cornstarch properly activates, make sure to cook your cobbler until the juices are bubbling over. Cornstarch is activated in heat and won’t thicken unless the internal temperature reaches a boiling point. Your cobbler filling will continue to set as it cools so let your pie cool completely before serving.
You can find Bob's Red Mill at most well-stocked grocery stores. To see if your local grocery store carries Bob's Red Mill, check out this store locator.
More Vegan Crisps and Cobblers
- Classic Cherry Cobbler
- Blackberry Bourbon Crisp
- Vegan Fruit Tarts
- Perfect Vegan Apple Pie
Make sure to try out all our vegan pies and tart recipes.
Mixed Berry Cobbler
Ingredients
- 8 cups fresh or frozen mixed berries
- ½ cup granulated sugar, divided
- 4 tbsp. cornstarch
- juice of 1 small lemon
- 1 ½ cup all-purpose flour
- 1 tsp. baking powder
- ½ tsp. baking soda
- ½ tsp. salt
- ½ cup vegan butter,
- ¼ cup non-dairy milk,
Instructions
- Preheat the oven to 375 F.
- In a small bowl, combine the berries, ¼ cup granulated sugar, cornstarch, and lemon juice. Stir together and set aside for 30 minutes while making the dough.
- In a separate mixing bowl, combine flour, remaining ¼ cup sugar, baking powder, baking soda, and salt. Add the butter in small cubes and mix it in with the dough using your fingers until small pea-sized pieces have formed. Add non-dairy milk and stir together until a stiff dough has formed. You may need to add a little more milk. If so, add it 1-2 teaspoons at a time.
- Transfer the berry mixture to a 9x13 casserole dish. Drop pieces of dough onto the berry mixer so that it is mostly covered with a large piece of dough.
- Bake for 45-60 minutes, uncovered until the berries are bubbling up and the dough is golden brown. Remove from the oven and let sit for 20 minutes before serving.
Video
Notes
- What kind of berries should I use? Fresh berries are always best. However, if you have to use frozen berries, place them in a colander and run them under water to allow excess juices to run off. Pat the berries try before mixing them with the sugar and cornstarch.
- Why won't my filling thicken? To ensure that the cornstarch properly activates, make sure to cook your cobbler until the juices are bubbling over. Cornstarch is activated in heat and won’t thicken unless the internal temperature reaches a boiling point. Your cobbler filling will continue to set as it cools so let your pie cool completely before serving.
 Hi, we’re Shayne and Kristina! I’m the chef and editor here at My Darling Vegan, and Kristina is the photographer and writer. Together we’re carrying on this space with the same focus on easy, flavorful vegan recipes that anyone can enjoy at home. Check out our
LL says
This is currently in the oven. Your recipe states at the top cooking time 30 min. At the bottom in the instructions it says cook for 45-60 minutes which is it. Thank you
Dina says
This looks amazing. I can't wait to try it. Which type of vegan butter do you recommend? I have EB buttery sticks as well as EB in the square tub. Thanks!
Eren says
Where tf are the measurements—
Julie says
Definitely saving this to make again. I halved the ingredients and used a 9x9 pan (just 2 of us) but next time will keep the topping at suggested amount for a 9x13. Halving the cobbler part of the recipe made for a scant topping. Still tastes delicious!
Rebecca says
Absolutely Amazing !!! Easy to make , made 1 1/2 X the dough for full coverage on the fruit. Thank you for a delicious dessert for my family !
Sue says
Canned coconut milk or coconut milk in a carton?
Sarah McMinn says
Canned coconut milk
Margaret says
Delicious! Thank you!!!
Beth Cooper says
I loved the recipe. I used a little less sugar and mixed up the flours, but followed everything else. It was perfect!
Emily says
could you sub coconut oil for the vegan butter?
Sarah McMinn says
It would work but you would lose some of the classic biscuit taste and texture
Felix says
This was delicious! I also sprinkled some cinnamon on top before baking and served it with banana ice cream that was just frozen bananas blended with almond milk and a tiny bit of vanilla extract. Will definitely make again in the future!!! 🙂
Trinity says
You do know most refined sugar goes through a bone char filter and thus makes it non-vegan
Sarah says
Not all granulated sugar goes through bone char. Here's an article that helps explain what sugars are and aren't vegan.
Lisa says
Really excellent. Baked it in a casserole dish because I don’t have a cast iron. My family loved it. Thank you!
Corinne says
Would it cook the same with GF flour, I was thinking almond flour or chickpea flour or Red Mills GF flour?
Sarah says
I would use Bob's Red Mill GF flour mix- that should work fine
Freddie says
what can be substituted for the cast iron skillet?
can I use fresh berries instead of frozen? Is there any adjustment to be made?
Thanks.
Sarah says
Any oven-safe skillet should do. As far as fresh, that should be fine. You may not need to bake it quite as long in that case.
MAE says
Where does the 2tbsp sugar go?
Sarah says
Sorry that wasn't very clear. I edited the recipe to make it clearer. The sugar goes in with the flour and baking powder in step 3
Lorie Garcia says
I made this today. It is delicious. This is the third recipe of yours I have made. They have all turned out full of flavor. Thank you!
Sarah says
I'm so glad to hear that! Thanks for sharing.