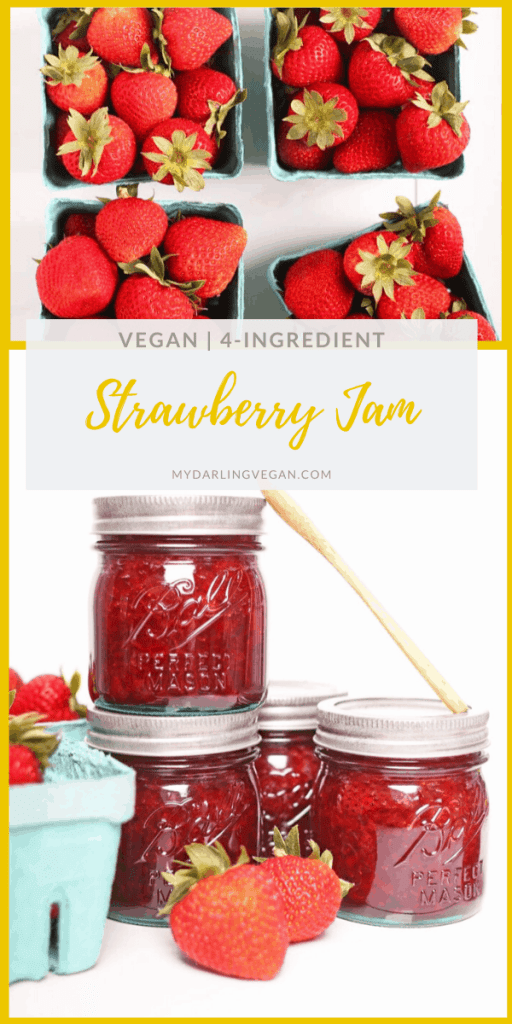
It's strawberry season! Time to pick all those fresh berries and make jam. Homemade jam is easier than you think. With the right equipment, you can make fresh, delicious jam in under 30 minutes. Makes the perfect spread, filling, or homemade gift.
Disclosure: This post may contain affiliate links.
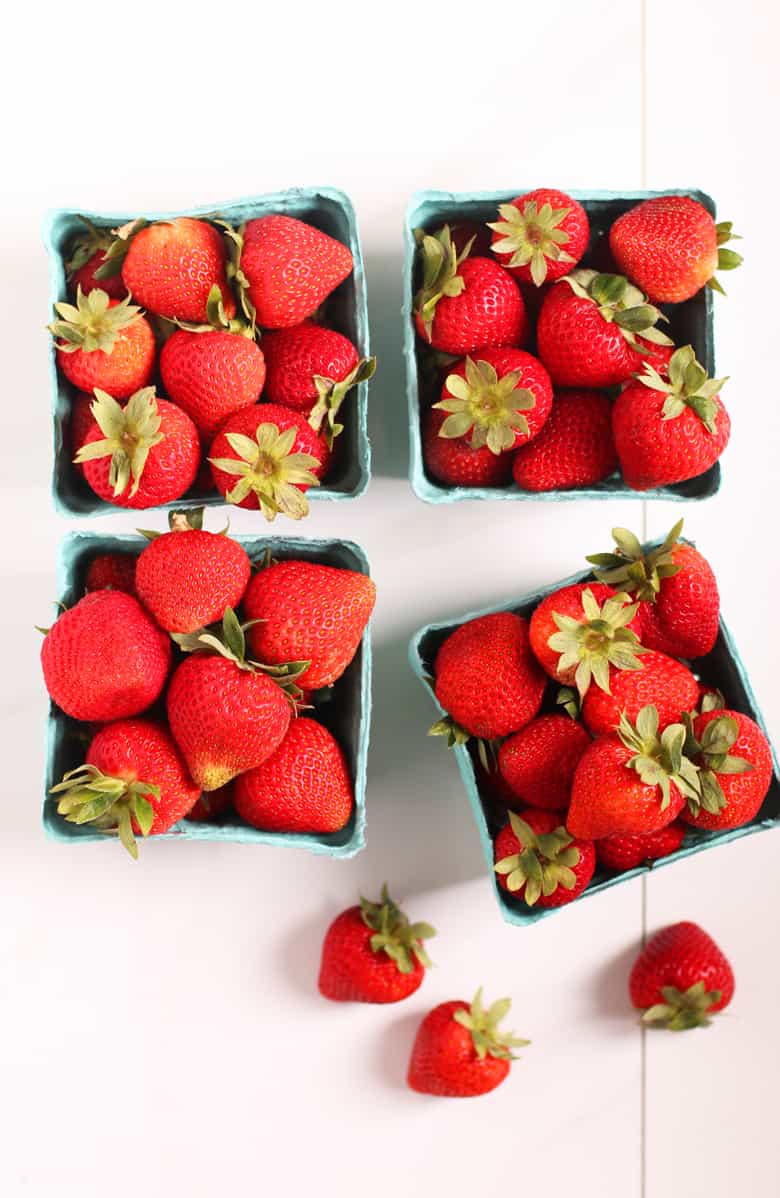
There are many things I love about living in the Pacific Northwest. For example, in under 2 hours, you can get to the mountains, the oceans, the dessert (okay, that's more like 3 hours), and endless waterfalls. It is always lusciously green and, because of that, we have some of the most beautiful gardens. Then, of course, there are the strawberries. Oregon strawberries are among the best, and when the strawberry season commences, I am eagerly out in the fields, filling my basket.
Because we only get fresh Oregon strawberries for about 3 weeks out of the year, I aim to pick as many as possible. Then, when I get home from an epic picking session, I am ready to preserve. What do I make with my strawberries? Strawberry salsa, canned pie filling, and, of course, homemade strawberry jam. That means freshness all year around!
Why buy when you can can fresh strawberries and have them year around? Not only is homemade fresher, lasts longer, and also more versatile, it simply feels good to have something that is proudly homemade.
Why I LOVE Homemade Strawberry Jam
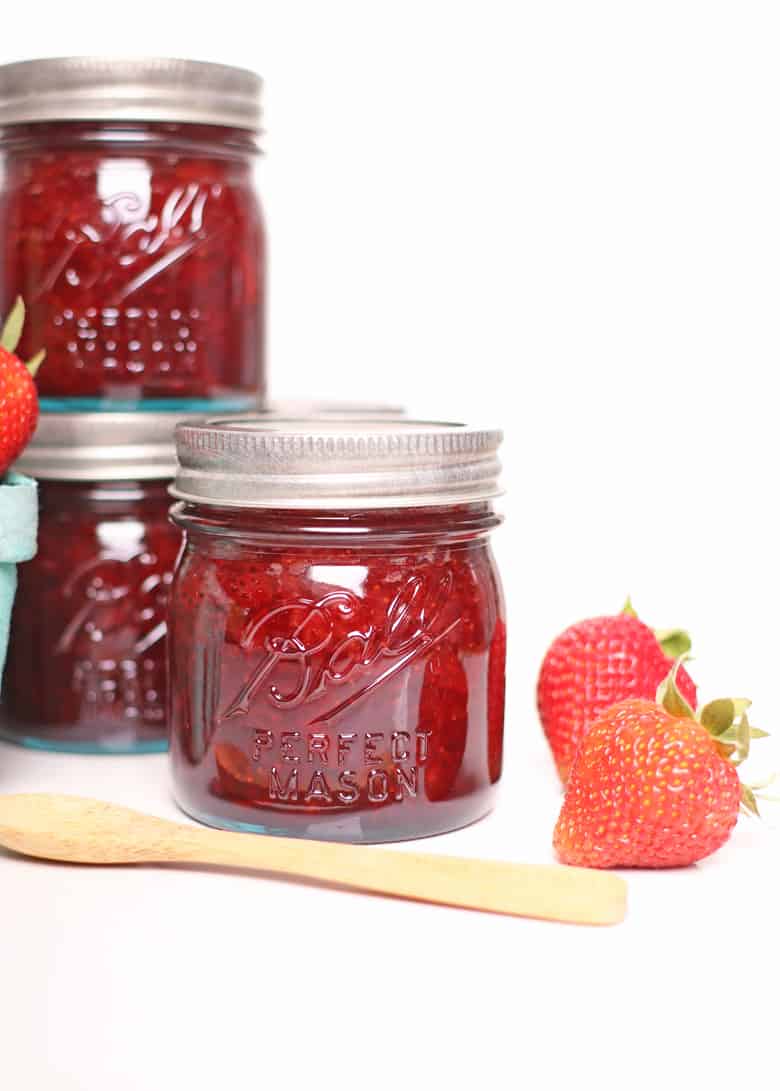
After my first pick in the strawberry fields, I decided to start the canning season by making some homemade strawberry jam. I love making homemade jam because it's one of the best ways to have fresh Oregon strawberries last far past strawberry season. Beyond its freshness, homemade jam makes a wonderful simple gift. As someone who loves to create, I find that homemade gifts are my favorite way to say, "I'm thinking about you."
Homemade jam makes a wonderful food gift all year long. Taking a little more effort and making your gifts from your own kitchen can go a long way in showing someone you care. Not only that, but home canning also gives you control in what's in every jar. Homemade jam has no preservatives or unnecessary additives and you can create new flavors that you wouldn't find in the store. These are the reasons I love to make my own homemade jam.
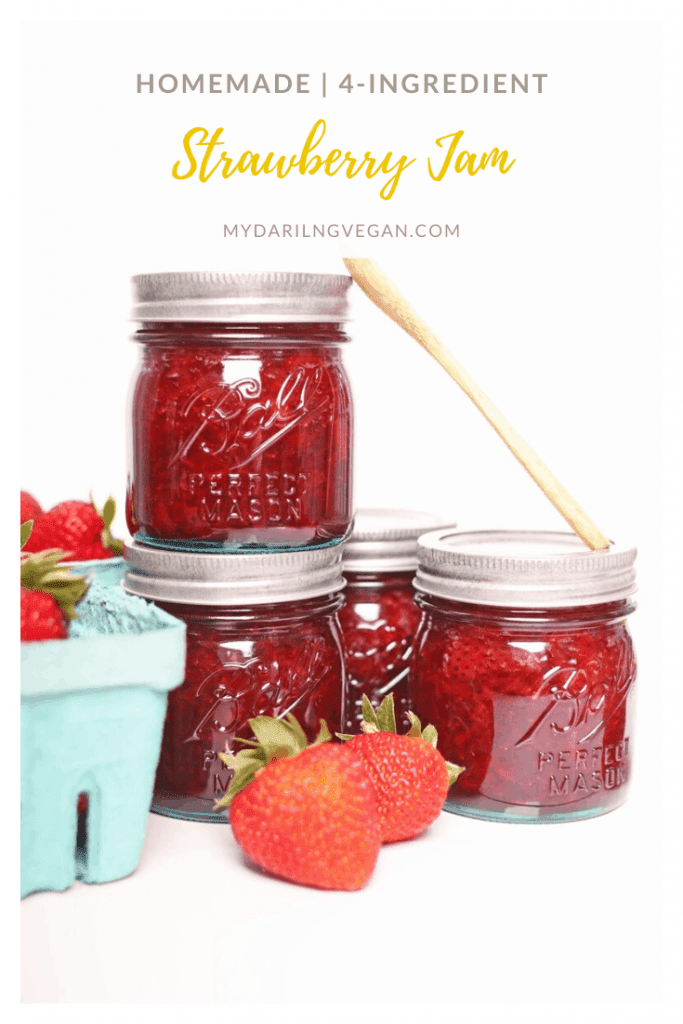
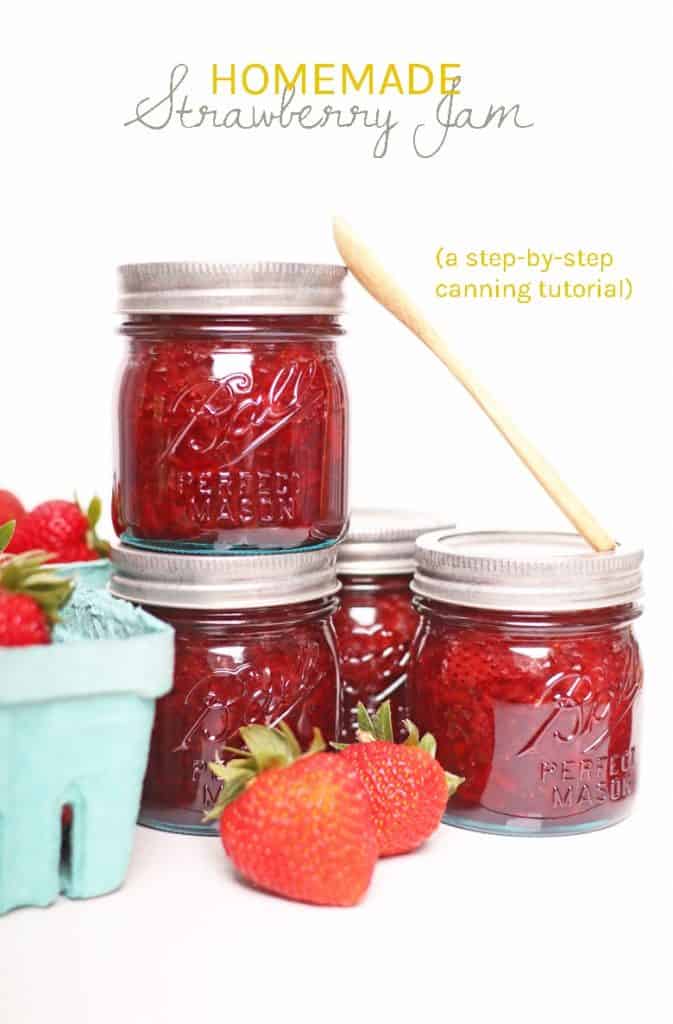
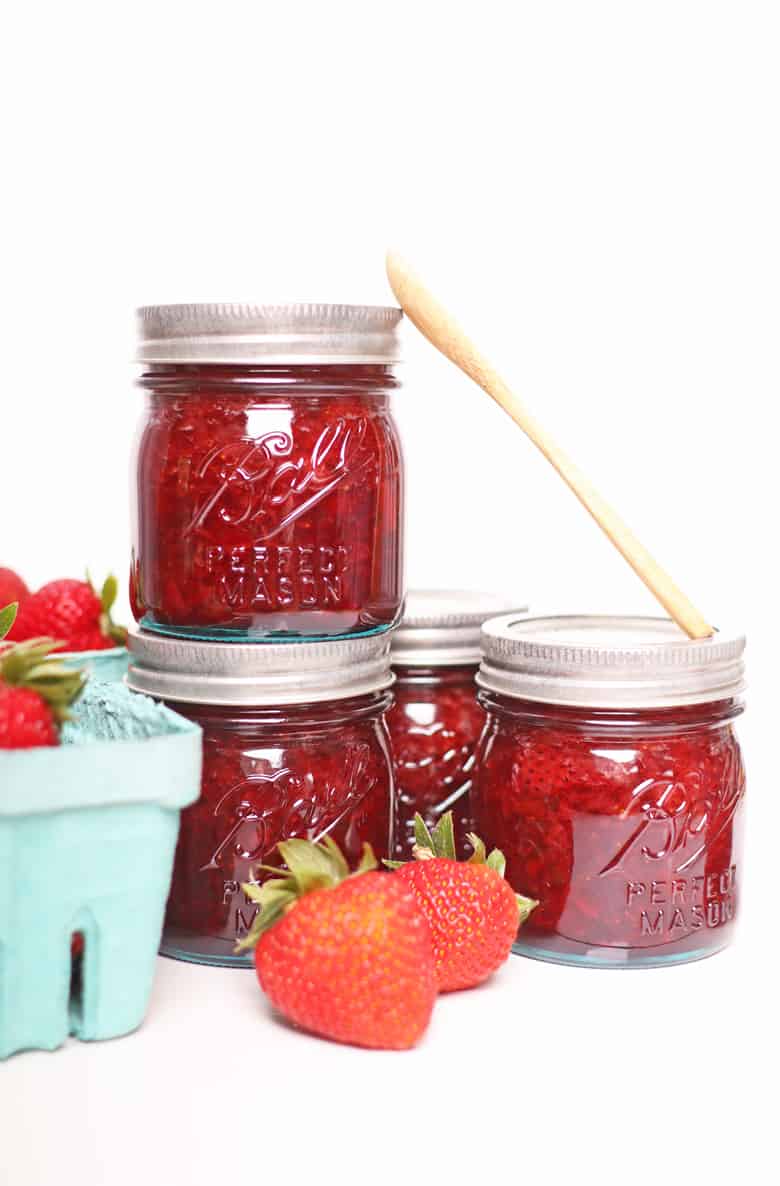
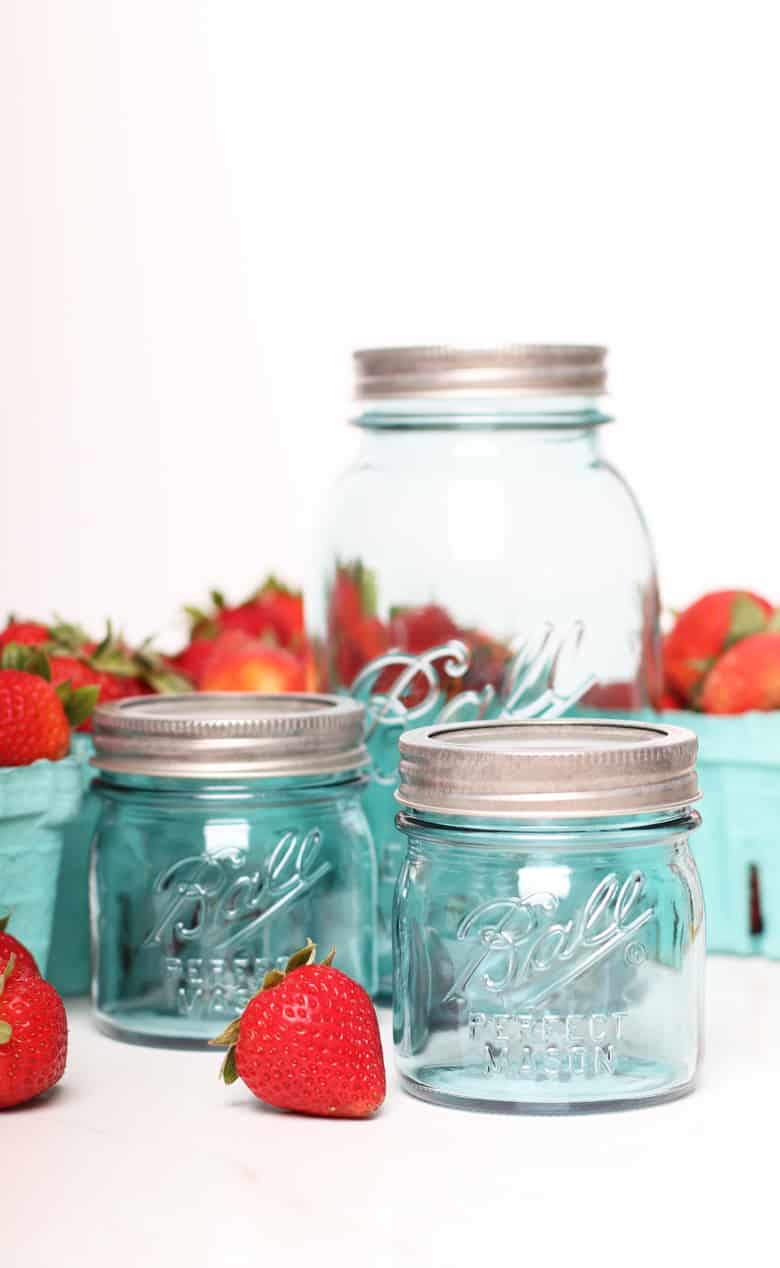
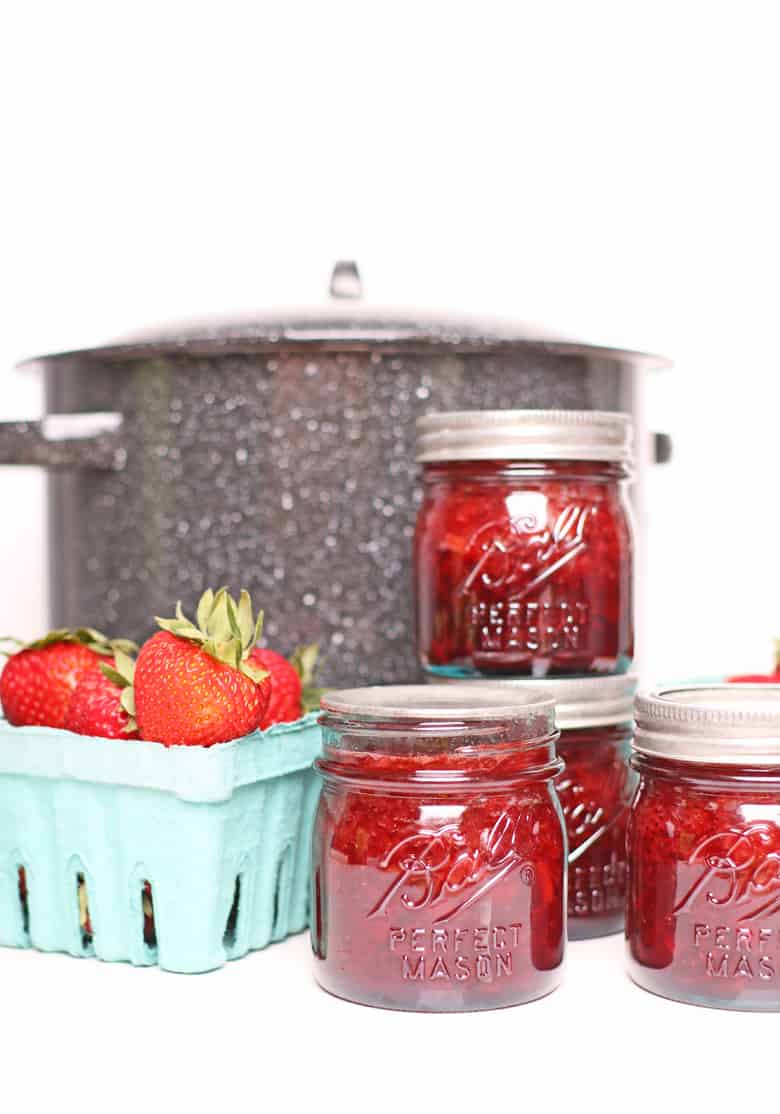
This year Ball® Canning brand is celebrating its 135th anniversary (!) and to celebrate they came out with a few more innovative items to make canning easier and more fun. One of my favorite new products is these Ball® Aqua Vintage Jars. I love them! And I knew that I wanted to use them for my homemade strawberry jam this year.
If you love these as much as I do, you can pick some of these jars up at Target.
How to make homemade strawberry jam
Canning is a lot easier than you may realize. This recipe can be made in about 20 minutes with just a handful of ingredients. Here are the things you must pay attention to when you make homemade jam:
Step One - Prep your equipment
The key to canning is keeping everything CLEAN. So before you get started with the recipe, make sure your lids and bands are sterilized and washed in warm soapy water. Once they are washed, set them aside to dry while you prepare the recipe.
To sterilize the jars, place them in the canner while you bring the water to a boil. Let them sit in simmering water but remove the jars once the water begins to boil.
Keep your workspace clean and use only clean towels for wiping the rims and lids.
Step two - Prepare the ingredients
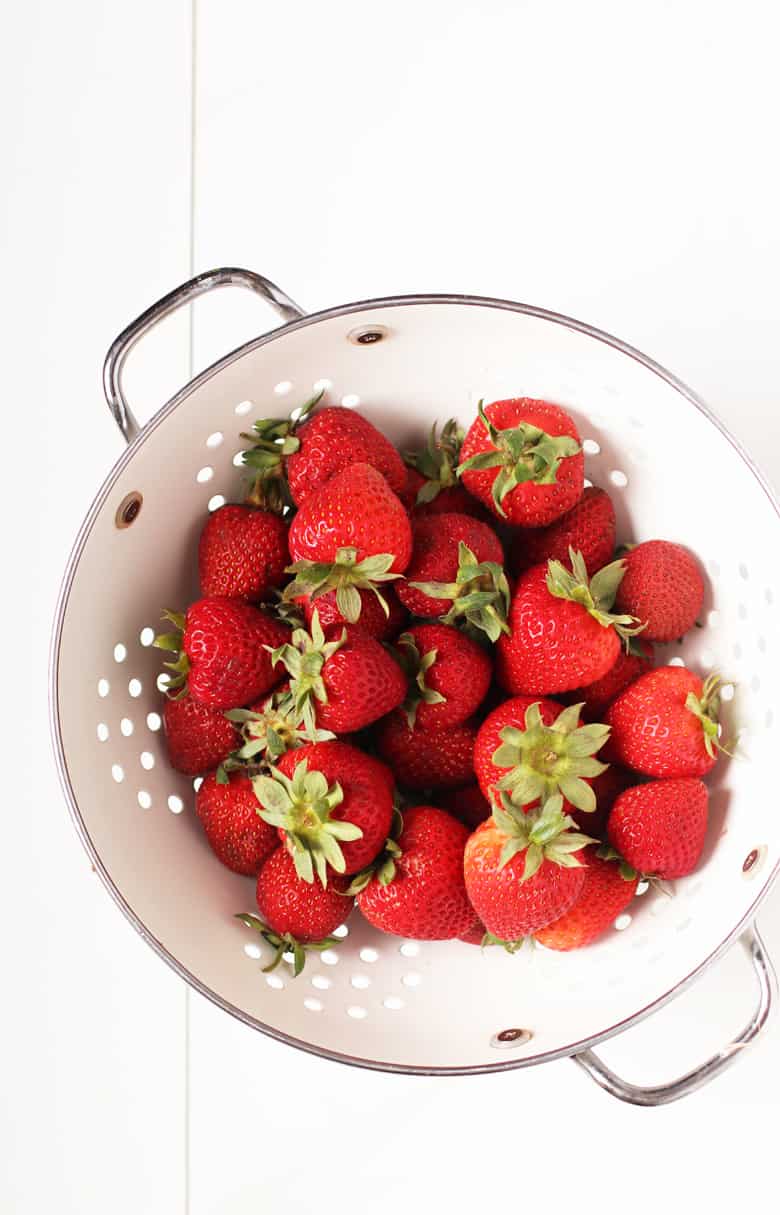
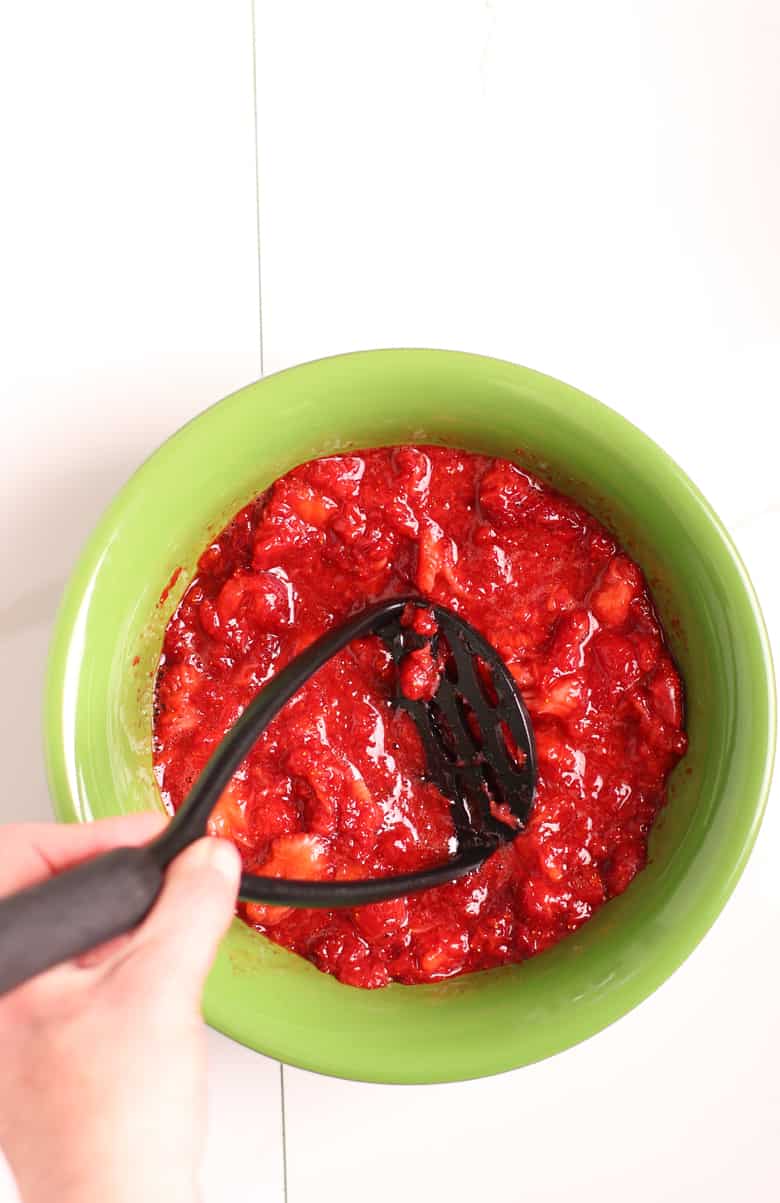
Now it's time to make the jam. In a large bowl, crush the strawberries. You can use a potato masher, large fork, or your hands for this. Crush them so that you still have some larger pieces but they are mostly fine pieces and their juices.
Next, combine the strawberries and lemon juice in a 6-quart saucepan over high heat. Slowly stir in the pectin, one tablespoon at a time. Bring the mixture to a full rolling boil, stirring constantly. After a minute of a rapid boil, add the sugar, stirring to dissolve. Return mixture to a full rolling boil. Boil again for 1 minute, stirring constantly, until the jam begins to thicken slightly. Don't worry if it feels loose, it will do most of its thickening as it begins to cool.
Step three - Preserve Jam in Canner
Now, with a ladle, fill each sterilized jar with the jam, leaving ¼" headspace on each jar. This is an important step to ensure a vacuum seal on the jar. Otherwise, the jam inside might expand and the jar may not properly seal. Wipe the rim and then place the lid and band on the bar, securing tightly. Repeat until all the jam is gone. Place the jam in the boiling water canner, cover, and let the jam process for 10 minutes. Remove the jam with your Ball® canning tongs and let them cool at room temperature.
You can check to make sure they are properly sealed 24 hours after cooling. The lid should not spring up and down when pressed with your finger. If it does, it hasn't properly sealed.
Canning Dos and Don'ts
Here are a few things to keep in mind when you are home canning:
Canning Dos
- Do follow a tested/approved recipe for home canning.
- Do clean jars prior to use.
- Do wipe the rim of the jar with a damp cloth or paper towel to remove food particles.
- Do start the processing time when the water begins to boil or pressure achieved.
- Do store jars in a cool/dry/dark location between 50-70 degrees.
Canning Don'ts
- Don’t alter recipe ingredients, processing methods, or processing times.
- Don’t place jars directly on the bottom of the pot/canner.
- Don’t guess on headspace.
- Don’t check for a seal while the jars are still hot/warm.
- Don’t forget to check your seal.
If you are new to canning, get more information at Ball® Canning’s website FAQ.
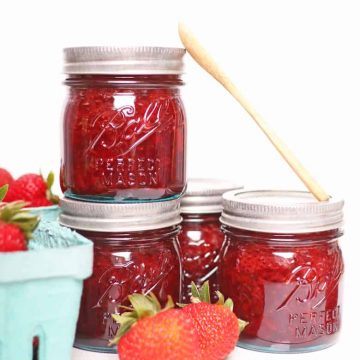
What to do with homemade strawberry jam
There are many uses for strawberry jam. You can, of course, spread it on toast, use it as a topper for pancakes, and French toast, or a filling for crepes, doughnuts. or cookies.
But my favorite way to use homemade strawberry jam is to gift it. Because DIY gifts come from the heart and the strawberries come from Oregon and this jam is proudly homemade. Head of to Ball® Canning website for more recipes and inspiration. Also, make sure to check out their other new innovations such as there Canning Starter Kit and Utensil Kit!
Wanna give this homemade strawberry jam a try? Let's take a look at the recipe below!
Storing Strawberry Jam
Store unopened strawberry jam in a dark, cool area for up to 18 months. Once a jar is opened, it will keep in your refrigerator for 7 days.
Sound delicious? Let’s take a look at the recipe below!
Homemade Strawberry Jam
Ingredients
- 5 cups crushed strawberries, about 3 pounds
- ¼ cup lemon juice
- 6 tbsp. Ball® RealFruit™ Classic Pectin
- 6 cups granulated sugar
Instructions
- Prepare the boiling water canner. Heat jars in simmering water until ready for use. Do not boil. Wash lids in warm soapy water and set bands aside.
- Combine strawberries and lemon juice in a 6- or 8-quart saucepan. Gradually stir in pectin. Bring mixture to a full rolling boil that can not be stirred down, over high heat, stirring constantly.
- Add entire measure of sugar, stirring to dissolve. Return mixture to a full rolling boil. Boil hard 1 minute, stirring constantly. Remove from heat. Skim foam if necessary.
- Ladle hot jam into hot jars leaving ¼ inch headspace. Wipe rim. Center lid on jar. Apply band until fit is fingertip tight.
- Process in a boiling water canner for 10 minutes, adjusting for altitude. Remove jars and cool. Check lids for seal after 24 hours. The lid should not flex up and down when the center is pressed.
 Hi, we’re Shayne and Kristina! I’m the chef and editor here at My Darling Vegan, and Kristina is the photographer and writer. Together we’re carrying on this space with the same focus on easy, flavorful vegan recipes that anyone can enjoy at home. Check out our
Fifi says
See "Canning Don'ts" Item number one. Canning is a preservation process that requires a certain amount of acidity, so you shouldn't change the ingredients or proportions. The processing method and times shouldn't be altered either. Changing the recipe can cause food poisoning.
Nancy says
We made this jam yesterday, it has a pleasant smell and the color is wonderful . I put in 2 tbsp less of the pectin and 1 cup less than the amount of sugar it calls for. I did not understand how it only called for a 1 min hard boil when the temp has to get to 220. So I did boil it until it got to that temperature, which was a out 20 mins.
I did add a 1/2 pat of butter and got no foam on the top. I also did the freezer plate test and even though we are just beginning I could already tell this was going to be way to thick.
To sample alone, it was way too sweet. (And we like sugar)
Today I had some toast with the jelly to sample, it took some of the sugar taste away but still has a strong taste of it. It is also way to thick for are liking.
If I had to do this recipe again, I would cut the sugar even more than I already did and use even less pectin.