This post is sponsored by Safeway. All thoughts and opinions are, as always, my own.
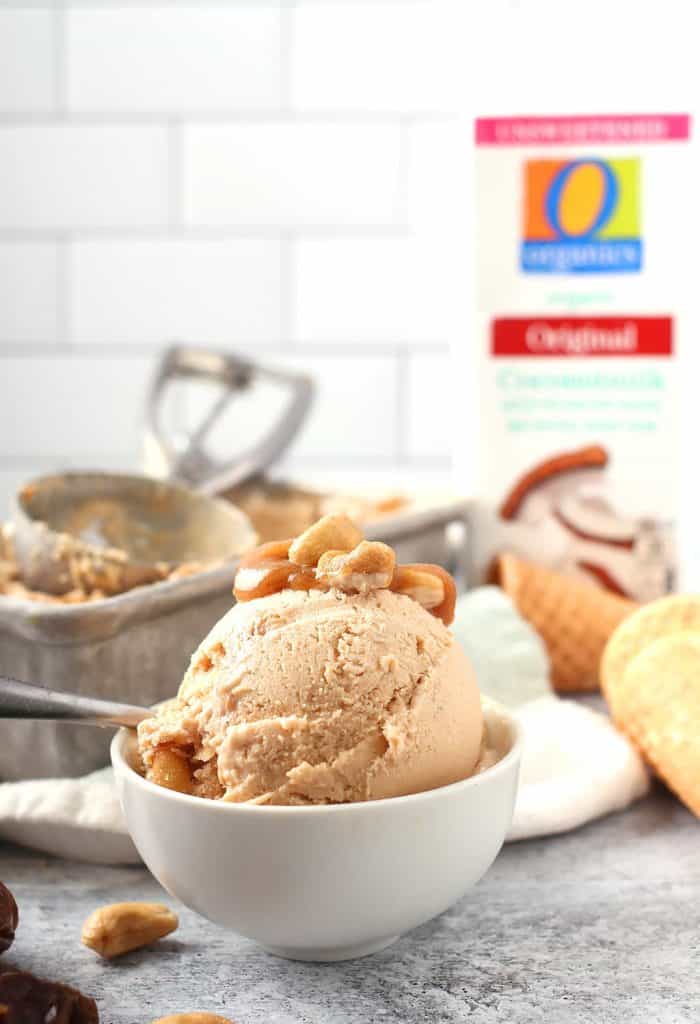
You’re going to love this Salted Cashew Ice Cream. It's rich, creamy, and filled with date caramel sauce and salted cashews for the perfect summertime treat. Vegan, gluten-free, and paleo!
Disclosure: This post may contain affiliate links.
It’s ice cream time again!
If you know me at all, then you know how much I love homemade vegan ice cream. You will find quite a lot of ice cream recipes here. Among my favorites are: coconut milk ice cream, classic strawberry ice cream, and vegan cookie dough ice cream.
So good and creamy!
But this salted cashew ice cream might be the best ice cream I've ever had! Not only is it rich, creamy, delicious, and the perfect balance of sweet and salty, but it's also 100% vegan, gluten-free, and paleo.
Now that's something to get excited about!
Ingredients & Substitutions
This Salted Cashew Ice Cream is vegan, paleo, and refined-sugar free. And yet it's incredibly rich, creamy, and silky smooth. Better yet, recipe is made with just 7 simple ingredients.
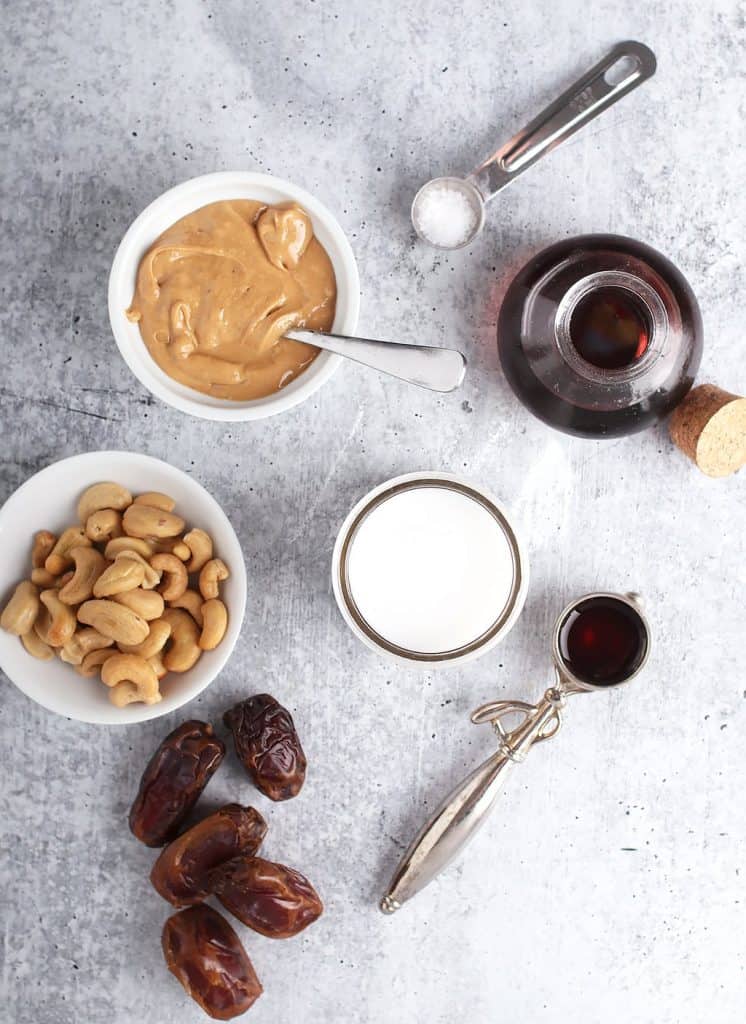
Ingredient Notes
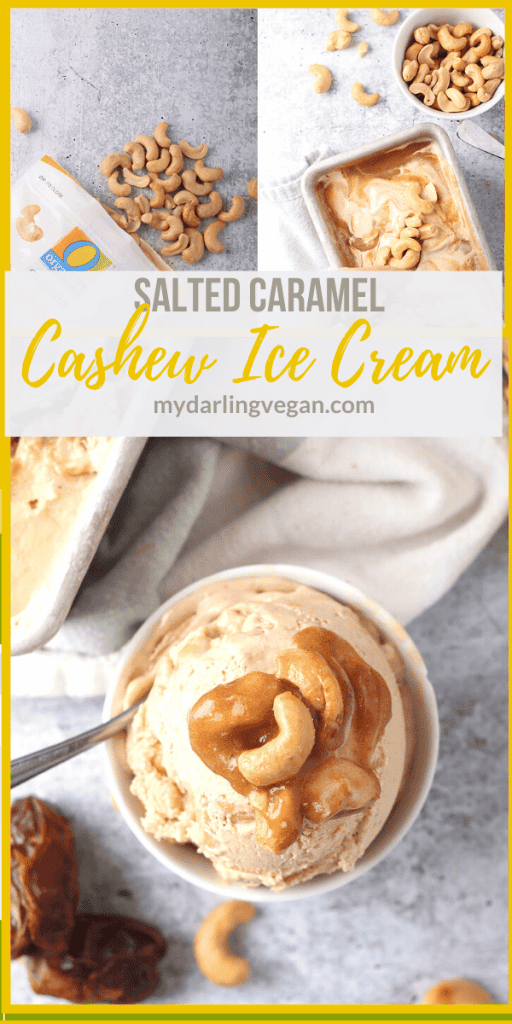
- Coconut Milk - It's important to note that this recipe calls for coconut milk in a carton (the kind you would find next to other non-dairy milk) rather than canned coconut milk. O Organics ® is the brand I recommend.
- Cashew Butter - This is the secret to the unbelievable creaminess of this ice cream. Look for Open Nature® Creamy Cashew Butter.
- Medjool Dates - This is for the caramel sauce. It’s important that for this recipe you use Medjool dates which are much sweeter and juicier.
Best Coconut Milk and Cashew Butter
For this creamy ice cream, I use Open Nature® Cashew Butter and O Organics® Unsweetened Coconutmilk and Roasted Cashews. Open Nature and O Organics are my go-to brand for natural and wholesome products.
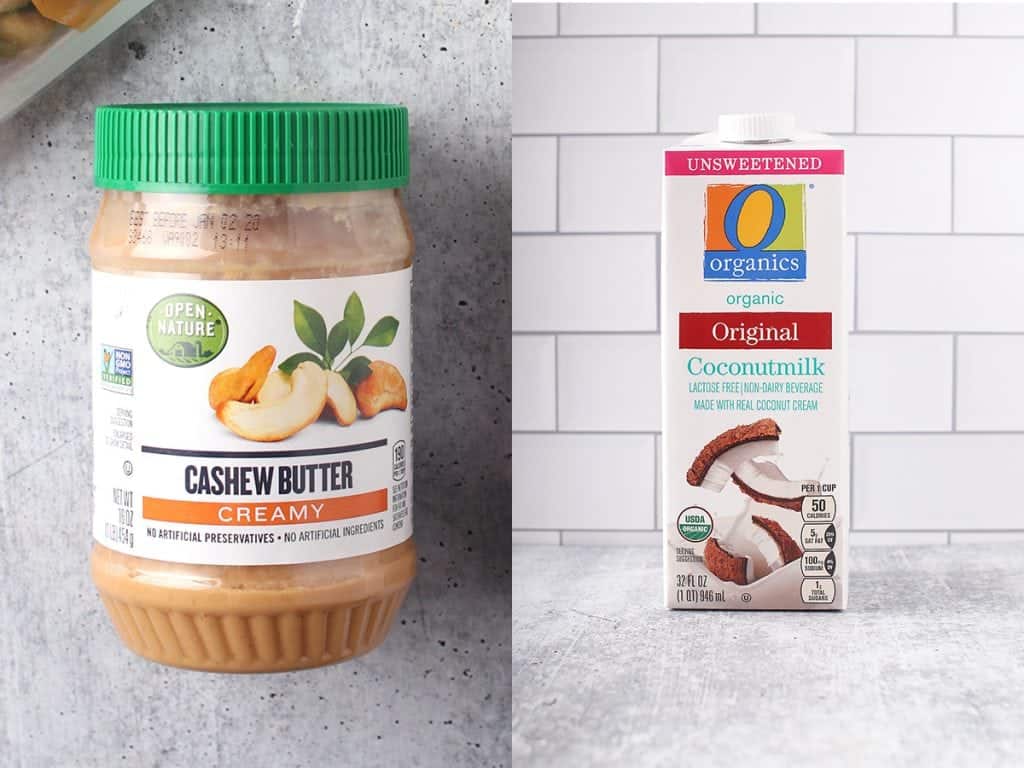
Open Nature believes good food is made without artificial flavors, preservatives, and common food additives. Their products are clean and minimally processed. O Organics provides high quality, USDA certified organic and affordable for all. Both brands offer a huge selection of plant-based and gluten free options.
Open Nature’s cashew butter is made with no additives; simply with high quality cashews for a butter that is rich, smooth, and creamy. Seriously the best I’ve tried! O Organics Unsweetened Coconutmilk is made with real coconut cream for a non-dairy beverage that’s thick, rich, creamy, and perfect for this vegan ice cream.
Where to Find Open Nature Products
Open Nature and O Organics are sold exclusively at Safeway and Albertsons. You can also find them at the Albertsons Companies family of stores, including ACME Markets, Jewel-Osco, Vons, Pavilions, Randalls, Tom Thumb, Shaw’s, Star Market, United Supermarkets and Carrs/Safeway.
I love to shop at Safeway because I know that I am getting top brands at a great value. And I get extra savings through my Safeway club card and the Safeway app. Great products and even better value? Why wouldn’t I shop there?
Safeway’s exclusive lines offer a variety of healthy alternatives such as plant based, protein rich, and gluten free options. They believe so much in these brands that they guaranteed quality and satisfaction or your money back!
Visit Safeway.com to find a store near you to pick up these amazing products and discover meal prep tips and recipe ideas. Safeway also offers Grocery Delivery and Drive Up & Go™ for convenient ways to shop!
Step-by-Step Instructions
Step One – Make the Base
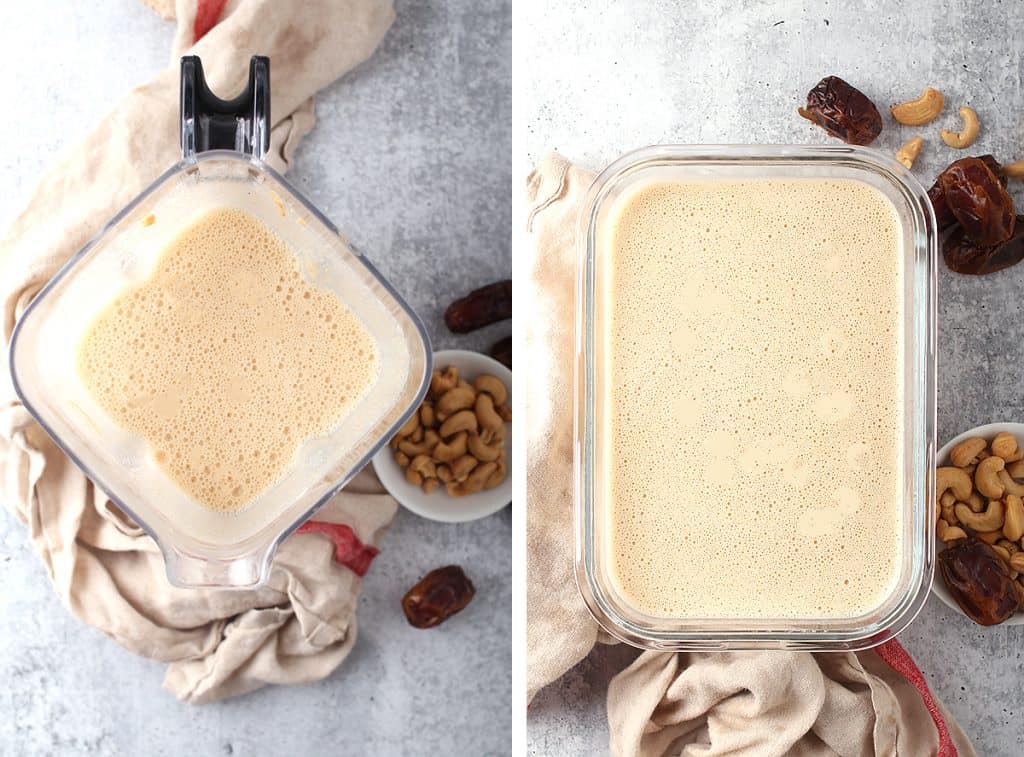
Combine the coconut milk, cashew butter, maple syrup, vanilla extract, and salt in a blender and blend until completely smooth.
Transfer the custard to a shallow container, cover, and refrigerate for at least 4 hours, until the custard is chilled all the way through.
Pro Tip: Do not skip this step! If you ice cream base is not properly chilled, it will warm up your ice cream maker causing the ice cream to not thicken properly.
Step Two - Make the Caramel Sauce
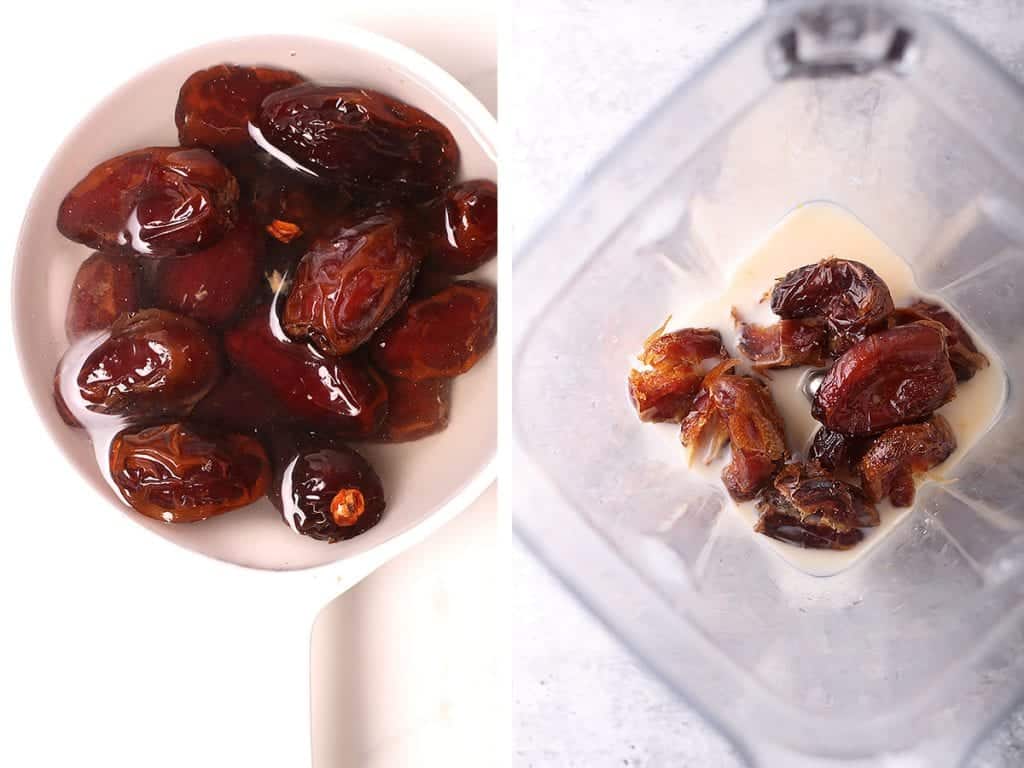
Soak the dates in warm water for 20 minutes. This helps soften the dates so that they can blend more thoroughly. Drain and rinse the dates.
Remove the pit and place them in a blender along with coconut milk, vanilla extract, and salt. Blend until completely smooth.
Transfer to a small bowl, cover, and refrigerate until ready to use.
Step Three – Churn the Ice Cream
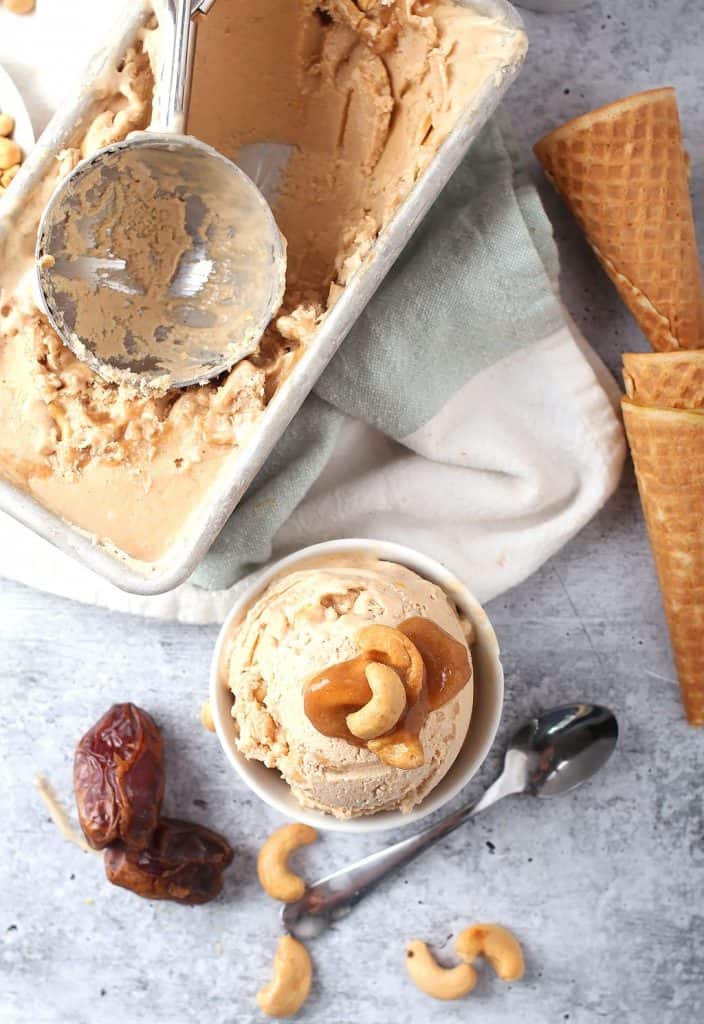
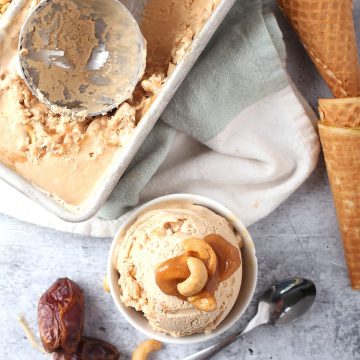
Add the chilled ice cream base to the frozen ice cream bowl and churn according to the manufacturer’s instructions. Church until it becomes thick and resembles soft serve. Stir in roasted cashews and transfer the ice cream to a loaf pan.
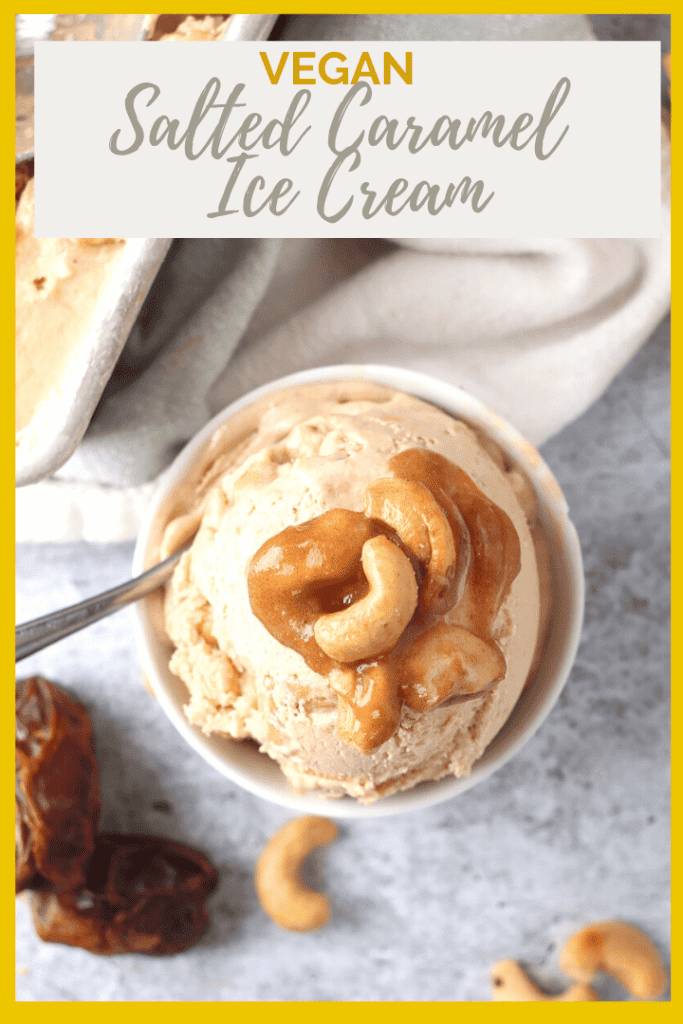
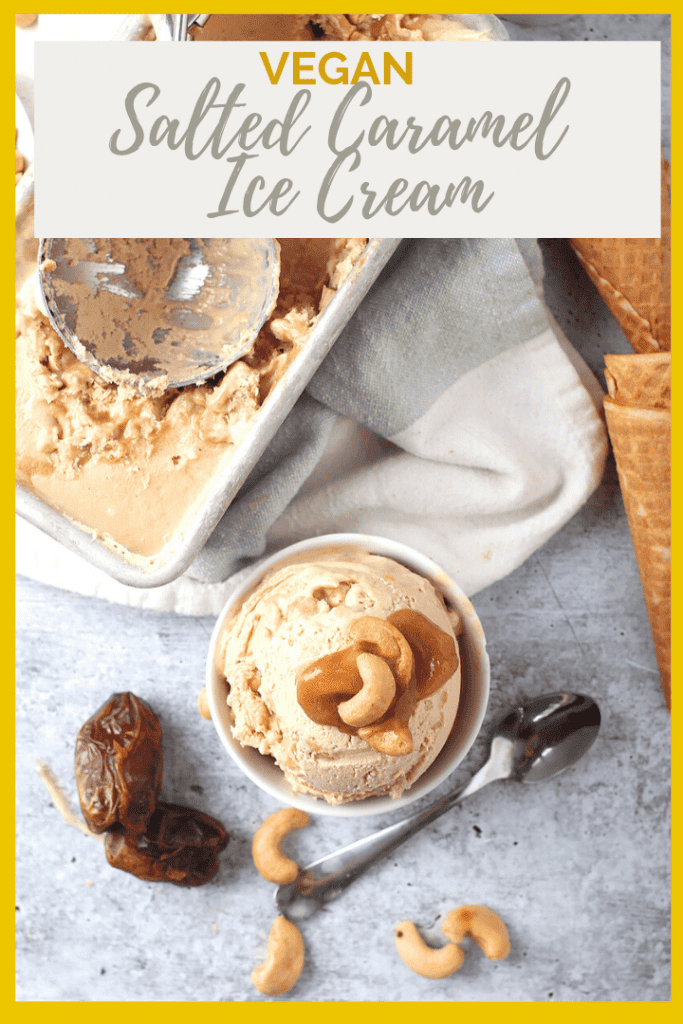
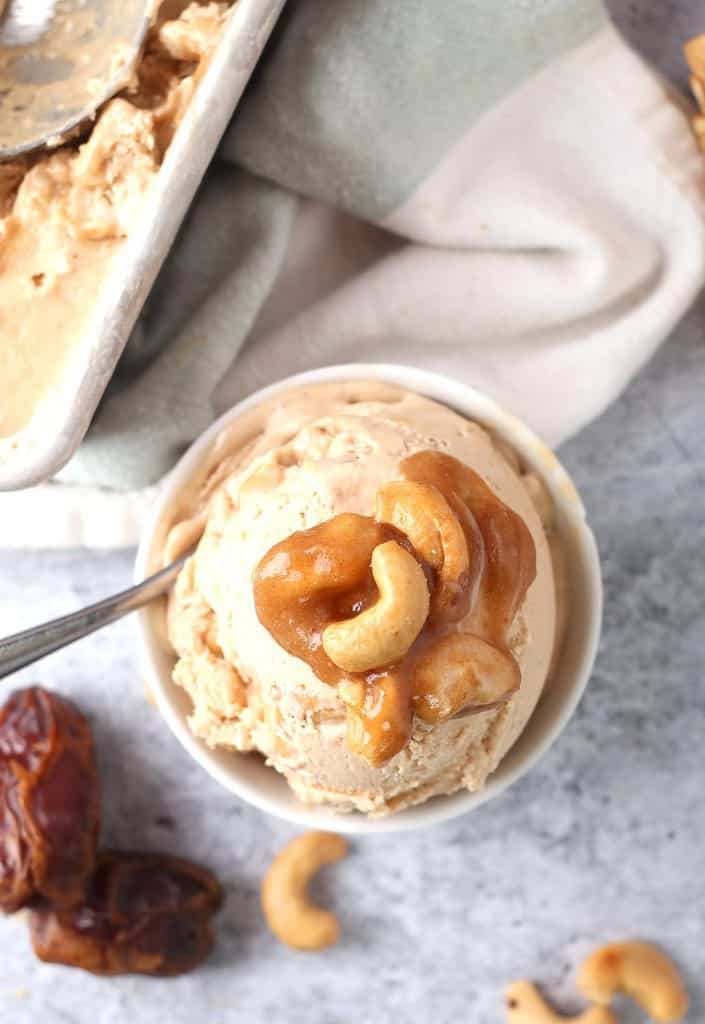
Spoon the caramel sauce over the ice cream and, using a knife, swirl it into the custard so that you have a caramel ripple throughout.
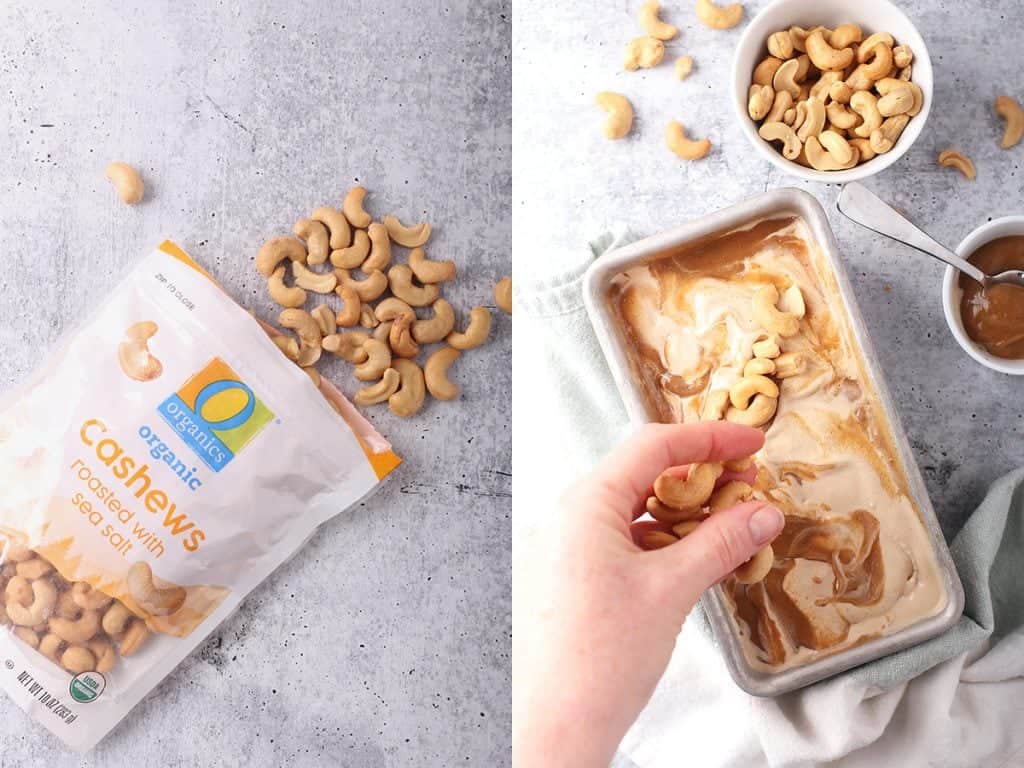
Top with remaining cashews, cover, and return to the freezer for at least one more hour before serving. Allow 5-10 minutes to thaw when removing from the freezer.
Serving And Storing
Store the ice cream in an airtight container in the freezer for up to 1 month. I store my ice cream in pint-sized ice cream tubs to keep them fresh and avoid freezer burn.
Serve your ice cream slightly thawed. Allow the ice cream to thaw 10-15 minutes before serving. Serve it in a bowl, in cones, or as part of an ice cream sundae.
Frequently Asked Questions
Do I need an ice cream maker?
While I totally recommend getting an ice cream maker ASAP, you can make a creamy custard without the machine.
To do this, make your ice cream base as outlined above. Once it’s ready, transfer it to a baking sheet and place in the freezer. When the ice cream is frozen, break it into chunks and blend it in a food processor until it becomes smooth and creamy. This may take up to 10 minutes. Transfer to a loaf pan refreeze.
You won’t get quite the same creaminess, but it works in a pinch!
Why won’t my ice cream thicken?
Every once and awhile I have a reader who cannot get their ice cream to thicken. There are a few reasons your ice cream never gets thick and creamy. Make sure to:
- Freeze your ice cream maker base for at least 8 hours before using it. This is to freeze the center of the base which is essential in getting thick vegan ice cream.
- Chill the ice cream base for at least 4 hours before churning. If the ice cream base is too warm, it will melt the center of the ice cream maker and never harden.
- Do not overfill your machine. To get thick, whipped ice cream, you need to make sure it is allowed to aerate as it churns. Fill your ice cream maker no more than ⅔rd full.
Head over to your local Safeway and pick up your premium ingredients from Open Nature and O Organics and whip up a batch of this decadent salted caramel ice cream today!
Salted Cashew Ice Cream
Ingredients
Cashew Ice Cream Base
- 2 ½ cups O Organics Unsweetened Coconut Milk
- 16 ounces Open Nature Creamy Cashew Butter
- ½ cup Maple Syrup
- 1 tsp. vanilla extract
- pinch of salt
Date Caramel Sauce
- 12 large Medjool dates, pitted
- ½-3/4 cup O Organics Unsweetened Coconut Milk
- 1 tsp. vanilla extract
- pinch of salt
- ⅓-1/2 cup O Organics Roasted Cashews
Instructions
- The night before place the bowl of your ice cream maker in the freezer to freeze all the way through.
- In a blender, combine the ingredients for the ice cream base. Blend until completely smooth. Pour into a shallow dish, cover with plastic wrap, and refrigerate for at least 2 hours, until chilled all the way through.
- While the ice cream base is chilling, make the date caramel sauce. Soak your dates in warm water for 20 minutes. Drain and rinse. Remove the pits and tranfer to a blender along with the coconut milk, vanilla extract, and salt. Blend until completely smooth. Refrigerate until redy to use.
- Add chilled ice cream base to frozen ice cream bowl and churn according to manufacturer's instructions. Churn until it becomes thick and resembles soft serve. Stir in the cashews and remove from the ice cream maker.
- Transfer to a loaf pan. Spoon caramel sauce over the top and gently swirl it in. Be careful not to mix too much or you will lose the ripple effect. Cover and place in the freezer to let the ice cream to harden all the way through. Allow 5-10 minutes to thaw when removing from the freezer.
 Hi, we’re Shayne and Kristina! I’m the chef and editor here at My Darling Vegan, and Kristina is the photographer and writer. Together we’re carrying on this space with the same focus on easy, flavorful vegan recipes that anyone can enjoy at home. Check out our
Alison says
Want to try this as I really think it's time for me to ditch regular ice cream, and most non dairy commercial ice creams just don't do it for me. I looked at your list of kitchen essentials but didn't see any icecream maker on the list. Which one do you use and recommend?..you did say you really liked yours..thanks!
Sarah McMinn says
This is the one I recommend.